
How To Make The Best Homemade Butter In Less Than Five Minutes!
There's an undeniable charm to homemade butter, a creamy and rich indulgence that's surprisingly simple to make. Beyond its luxurious taste, making butter at home offers the delightful by-product of buttermilk - perfect for baking and cooking. Today, let's churn our way to buttery bliss!
Ingredients:
500ml of heavy cream (the fresher, the better!)
Equipment:
Stand mixer with a balloon whisk attachment
Bowl cover attachment (if available)
Two bowls (one for separating, one for washing)
Ice water
Baking paper
Instructions:
1. Prepare Your Equipment
Before you begin, ensure you have your stand mixer ready with the balloon whisk attachment. It's handy to have the bowl cover attachment, too, to minimize splashing.
2. Cream Into Whisk
Pour the cream into the stand mixer’s bowl. The volume isn't as crucial as ensuring your mixer can handle the amount without overflowing.
3. Whipping the Cream
Turn on the mixer to a medium speed. Watch as the cream transforms, first to a whipped state. Keep mixing; you're not looking for dessert toppings here!
4. Separation Point
Continue whisking past the whipped cream stage until you notice the buttermilk beginning to separate from the milk solids. This is where the magic happens.
5. Slow Down
Once the mixture breaks, reduce the mixer's speed by half to avoid a buttermilk tsunami in your kitchen.
6. Butter Clumps
When you see yellow lumps forming, that's your butter! Turn off the mixer and scrape down the whisk to gather your bounty.
7. Buttermilk Reserve
Pour the separated buttermilk into a bowl. Don’t discard it! This flavorful liquid is a baker's secret weapon - think pancakes, waffles, or our own KFC Popcorn Chicken.
8. The Washing Phase
Place the butter into a bowl of icy water. Gently knead it to rinse out any remaining buttermilk. Clear water means your butter is well-washed.
9. Seasoning
Move the butter to another bowl and mix in a pinch of salt. This step is optional but recommended for that extra savoury edge.
10. Storing Your Butter
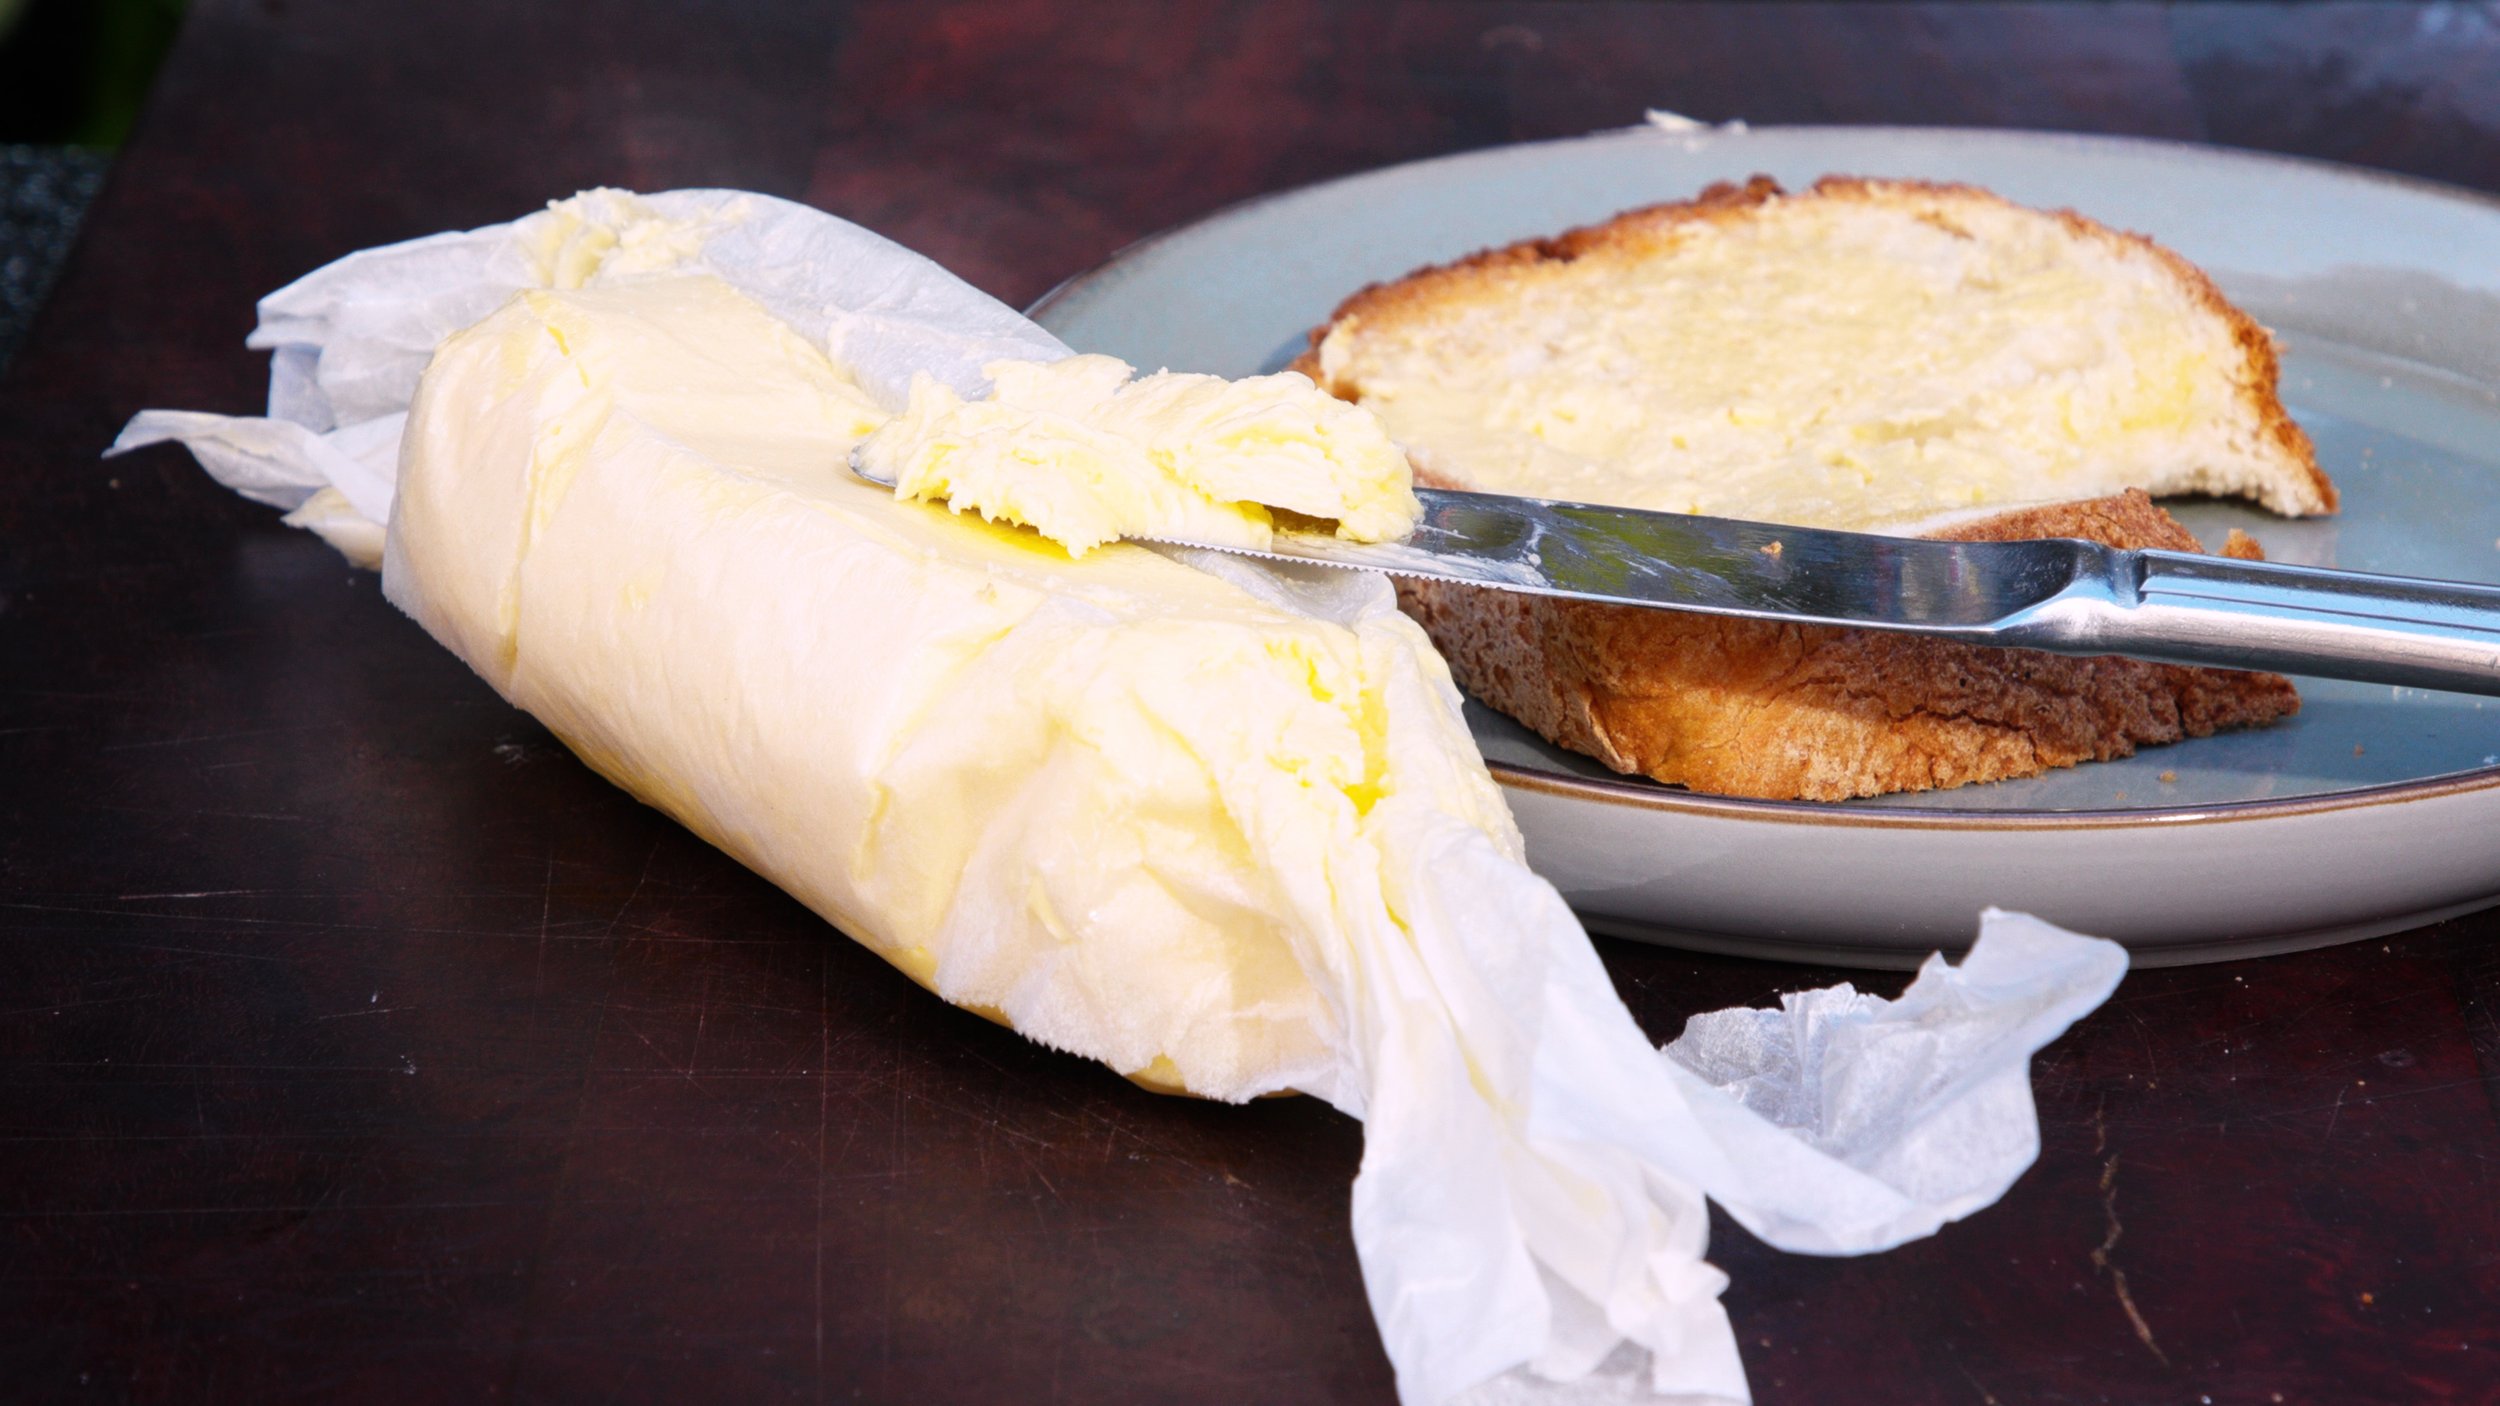
Spread out a sheet of baking paper. Place the butter on the paper and roll it up into a log. Twist the ends to secure your creation.
11. Chill Out
Refrigerate the butter until firm. This also helps the flavors to meld beautifully.
12. Serving Suggestions
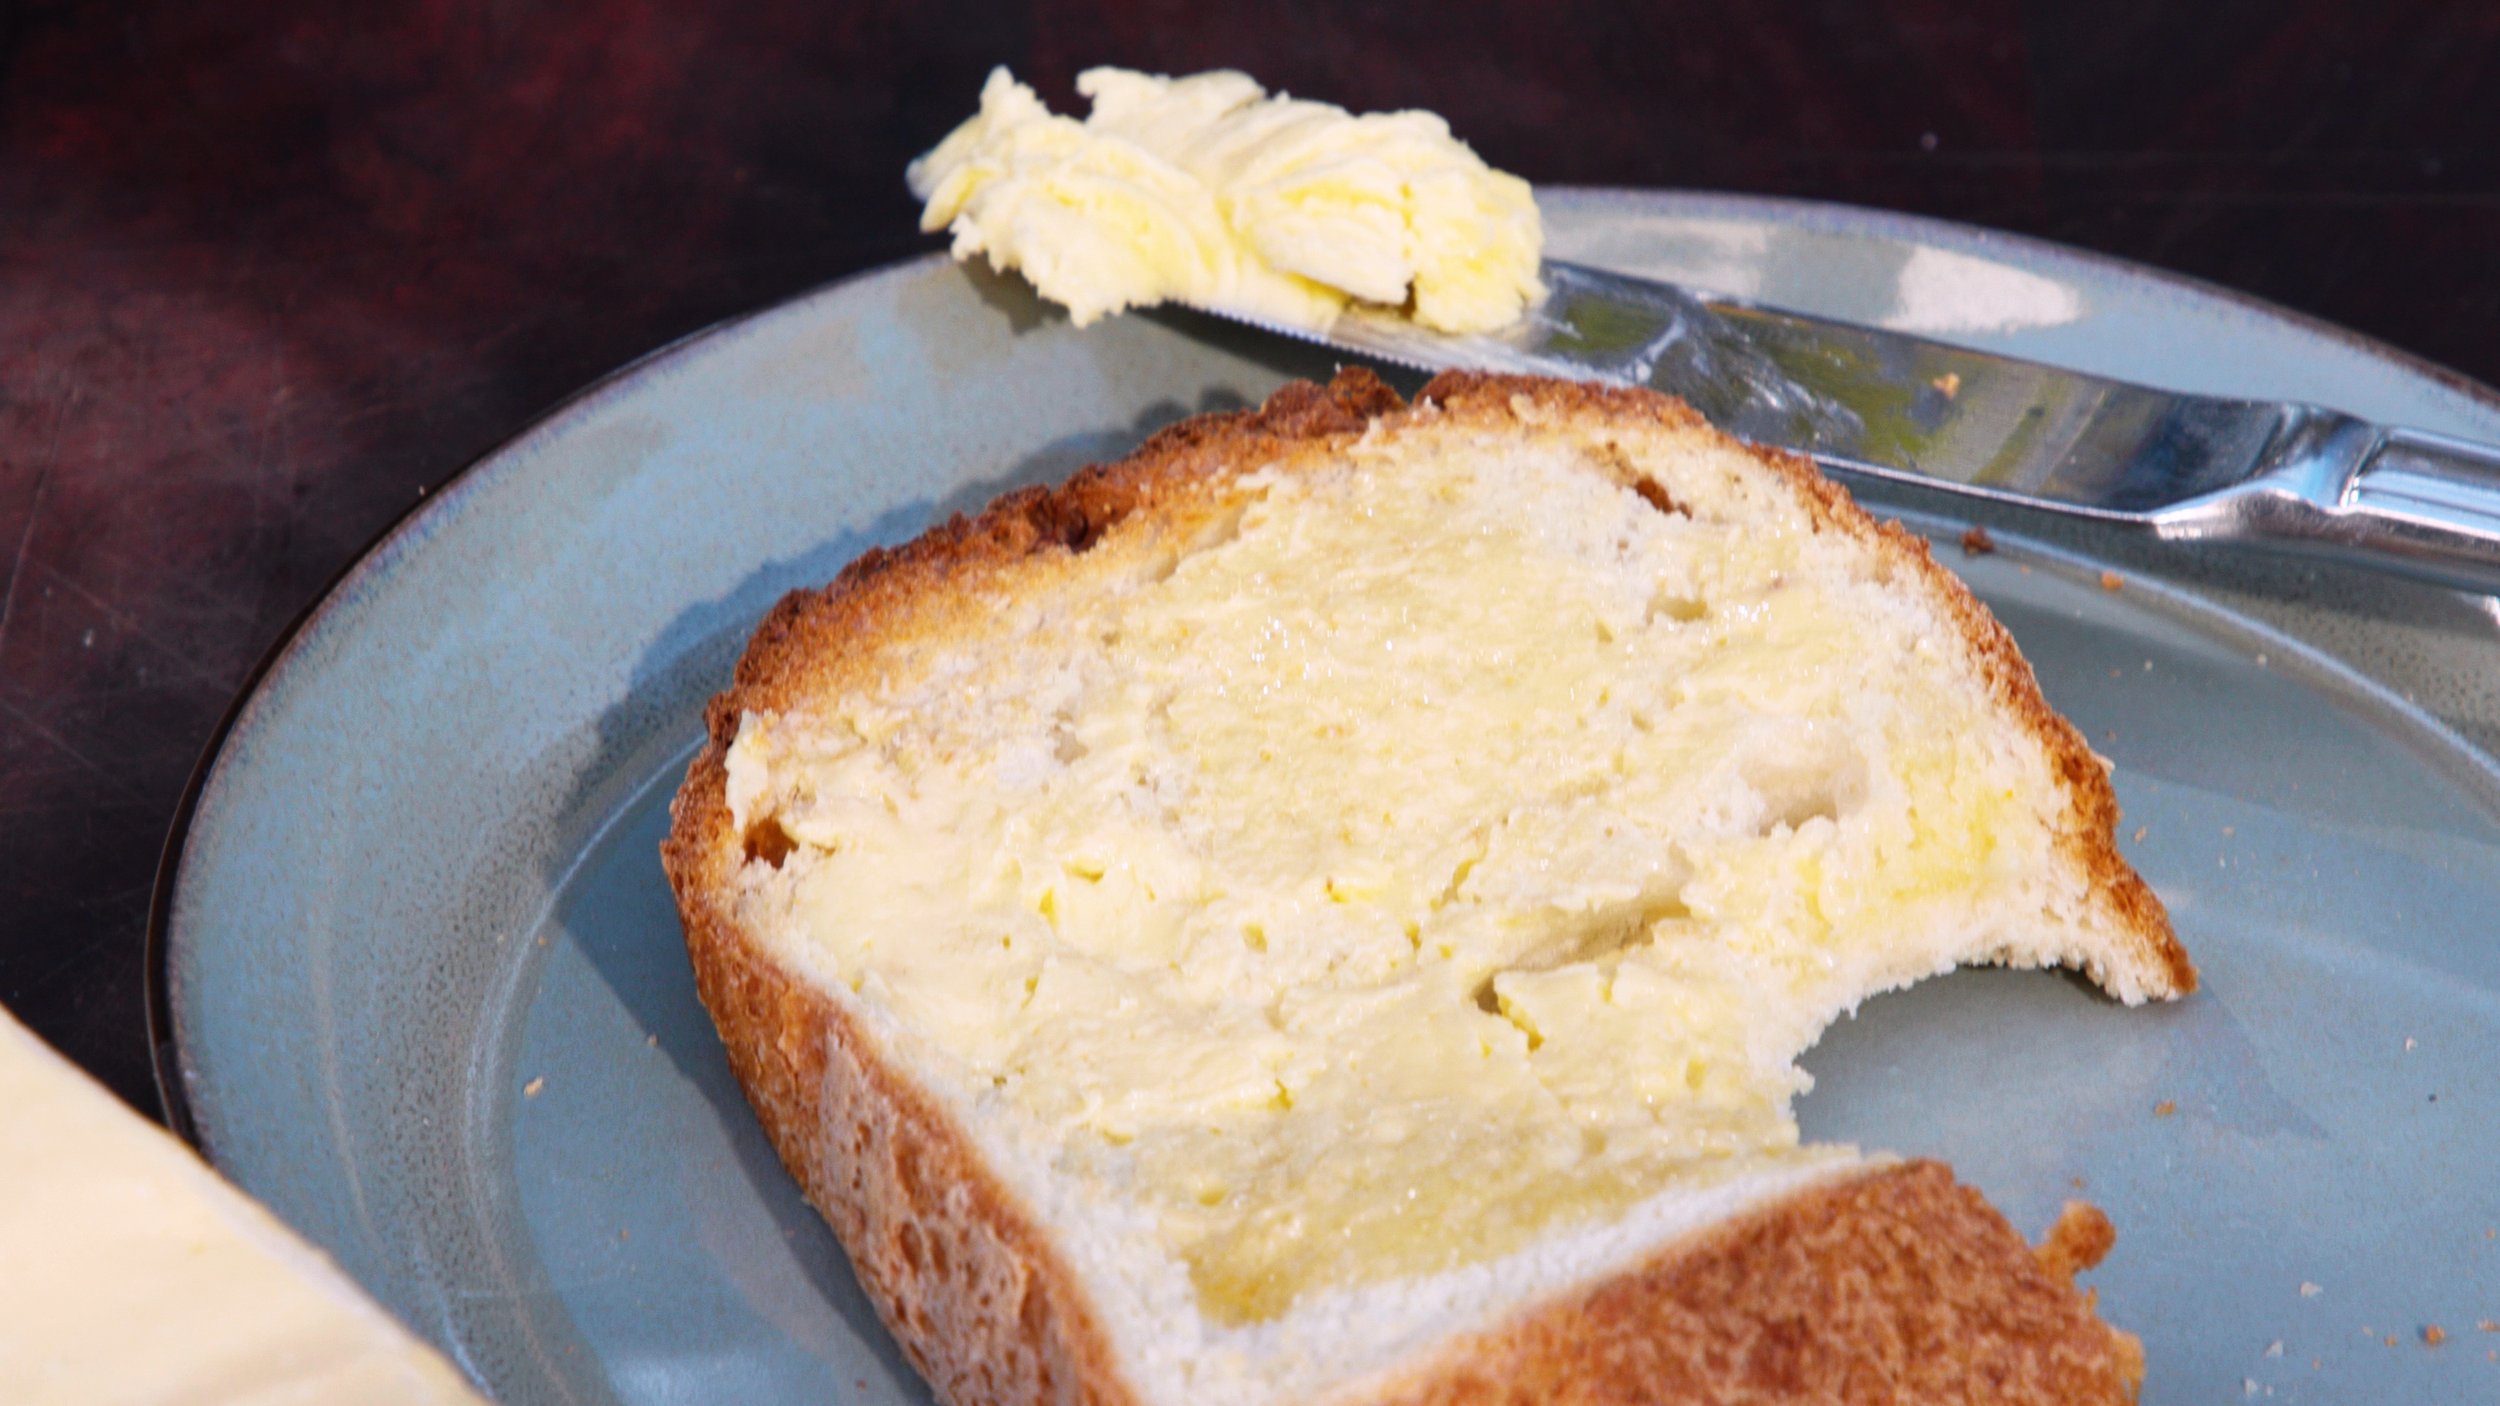
Enjoy your homemade butter on toast, in your cooking, or as a base for flavours like garlic or herbs. The possibilities are endless!
There's something immensely satisfying about spreading butter when you've churned yourself across a slice of warm bread. The rich flavours are incomparable to store-bought varieties, and the process is a delightful nod to culinary traditions of the past.
Homemade butter not only tastes better, but it's also a conversation starter - imagine the stories you can share about your foray into the world of dairy alchemy!
If you're inspired to try this at home, like, share, and subscribe for more culinary adventures. And if you have any questions or your own butter-making tales, drop a comment below!